
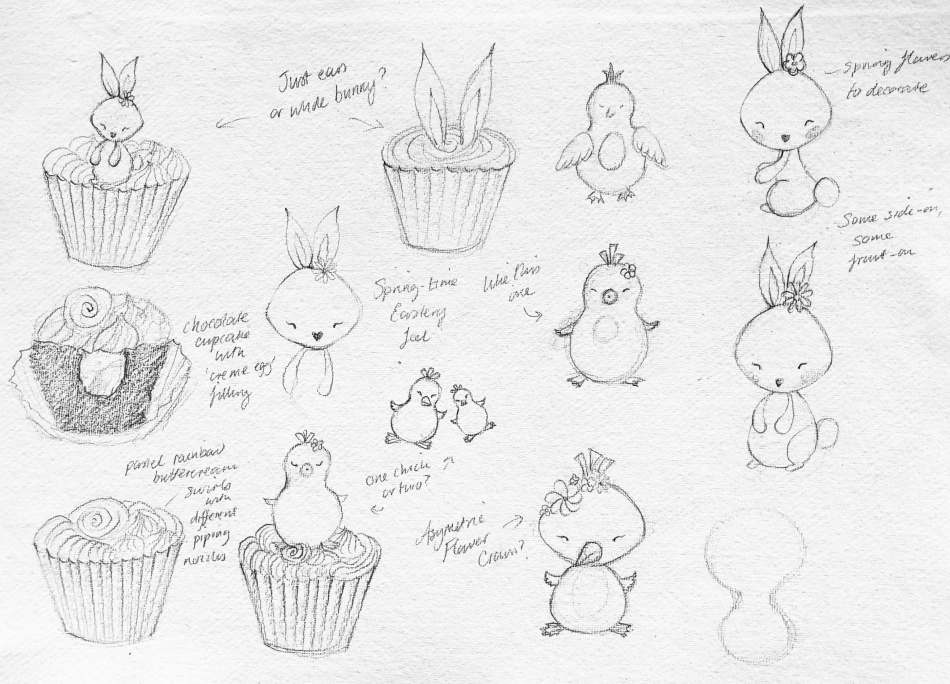
The Inspiration behind the Project
I have the most wonderful memories of Easter Sunday morning as a child, running out the front door of our cottage to hunt for eggs. I recollect clearly the soft, bouncy feel of our mossy lawn, the vibrant green of the new blades of grass and the luminous new beach hedge leaves unfurling from their buds. Most of all I can remember the wafts of spring in the air – that magical scent of the earth ready to come to life after the long, dreich, damp winter. My treasure would be tiny little Lindt chocolate eggs wrapped in beautiful, pastel foils – I have always had fascination with colour and the way different colours give me different emotions – and I can still see those retro little eggs in my mind's eye – gold, pastel pink, raspberry pink, heavenly pale duck-eggy blue and green and a light teal green too.
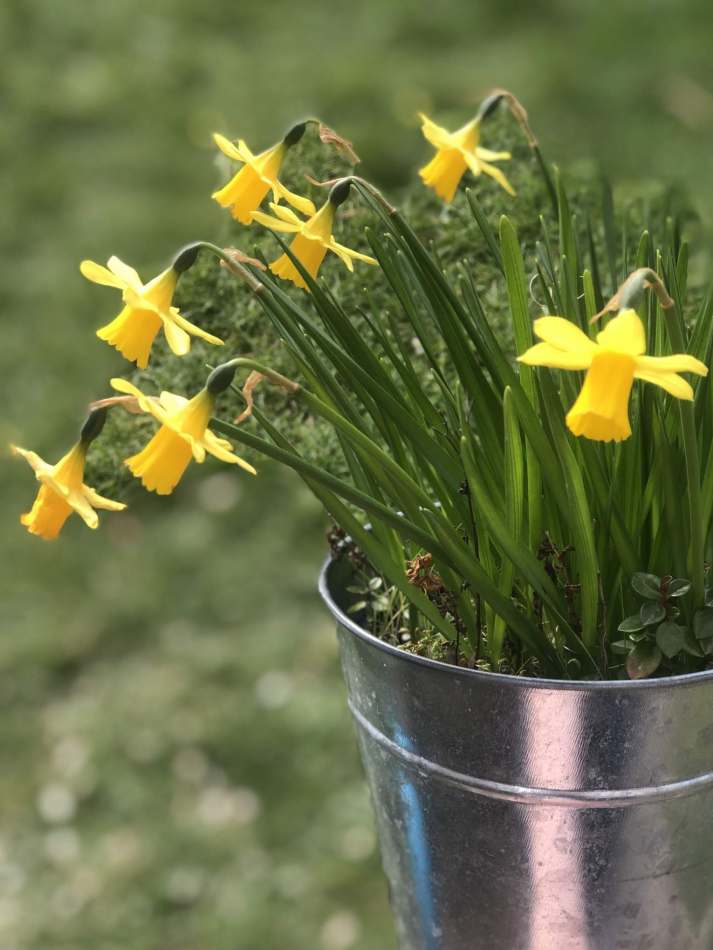
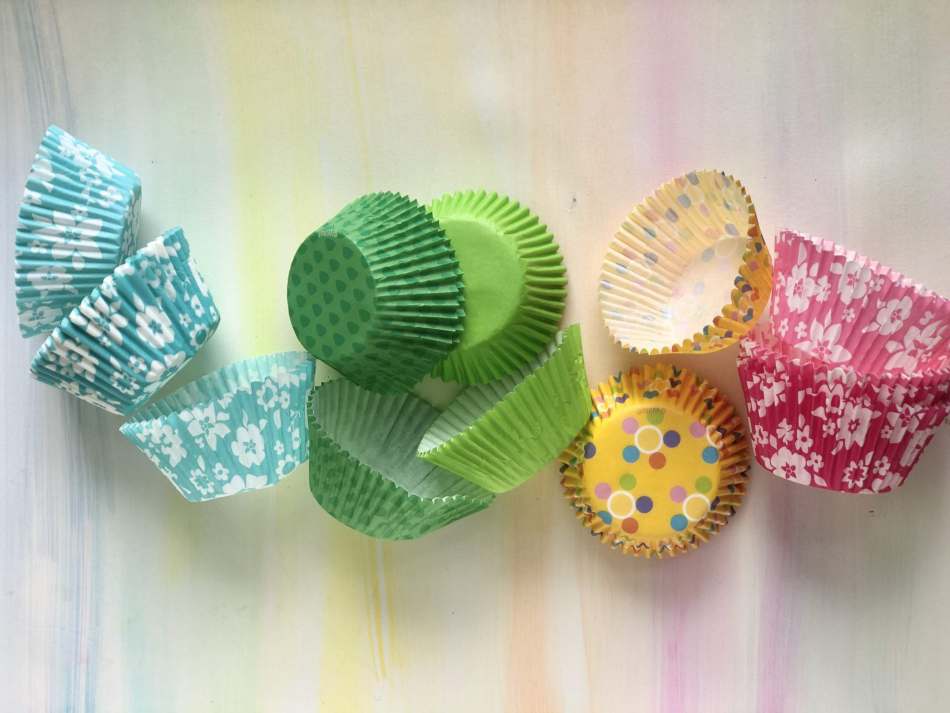
This Easter I am, of course, banished from my parents' cottage in the countryside and from recreating the magic of my childhood egg hunts for my own little ones. Perhaps that's why I felt inspired to design some nostalgic Eastery treats that incorporate those heavenly pastel shades and recreate that irresistible spring-time feeling.
I've tried to embrace the challenge of limited resources and love the thought of people being able to create Eastery treats at home with the kids with minimal tools and equipment and have also had fun thinking of possible substitutes or alternative ways of doing things:
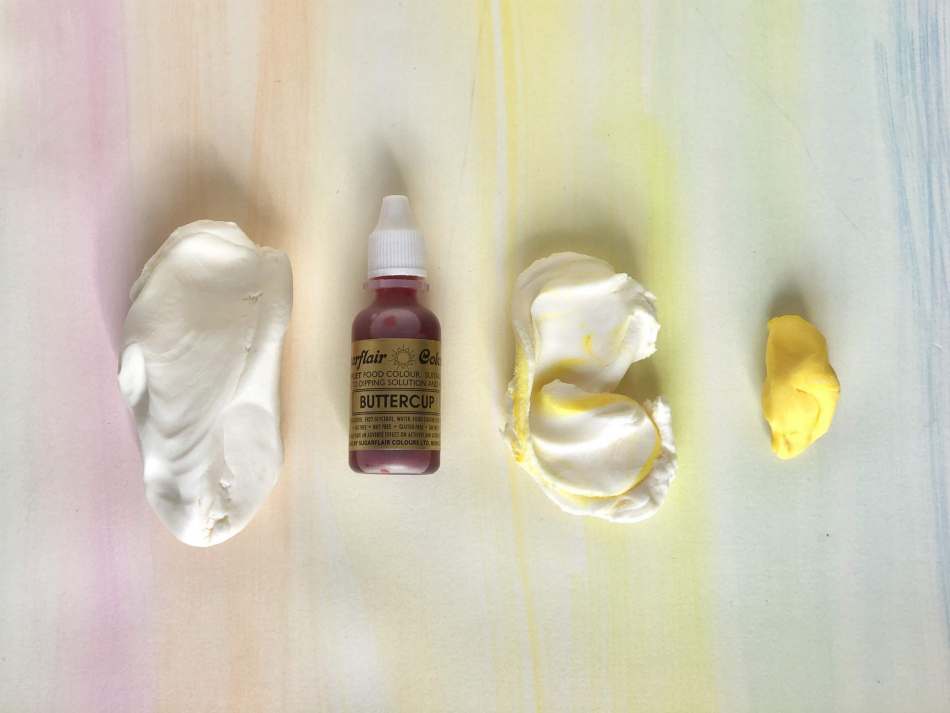
The best edible modelling material to use is 'modelling paste' or 'sugar florist paste/ petal paste', but standard fondant icing works well too (ie the stuff you can buy in supermarkets, sometimes called sugar paste or ready-to-roll icing. This is just a bit more on the squidgy side, so make all the parts, then give them an hour to set slightly before gentle gluing them together with a little water or dissolved fondant for a stickier 'glue'.
If you can't get hold of icing, marzipan works well and failing that, polymer clay (eg Fimo) or even playdough can be fun non-edible alternatives.
Tools and Equipment
I've kept the equipment list as basic as possible. A month or so ago, I could have argued that there were many specialist tools you should never be seen without, but now I know that loo roll, soap and baked beans are really the only essentials in life, I've even thrown aside my trusty blossom cutter with the realisation that a teaspoon handle and lego lady (or man's) head will do the job! Here's what you need:
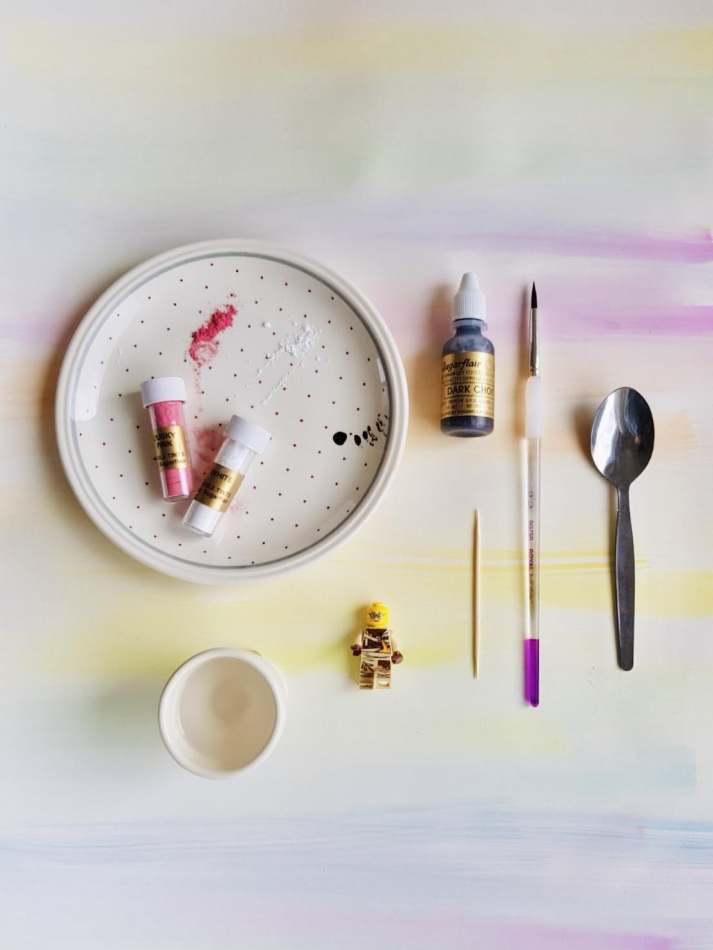
Modelling material in white, pale yellow and darker yellow
Knife
Teaspoon
Cocktail stick
Paintbrush and dark food colour if available
Pink or pale pink food dust if available
Pot of water
Lego person if desired!
Substitute ideas if needed:
If you don't have brown food colour for painting eyes and noses, you could leave the nose white and make little indentations for the eyes with a pin head or needle or you could opt for non-edible toppers and use felt-tip pen instead.
The pink edible dust can be left off too, or you could use light brushstrokes of watered down pink food colouring.
The lego person could be replaced with simply making an indentation to form the centre of the flower with the handle end of a paintbrush.
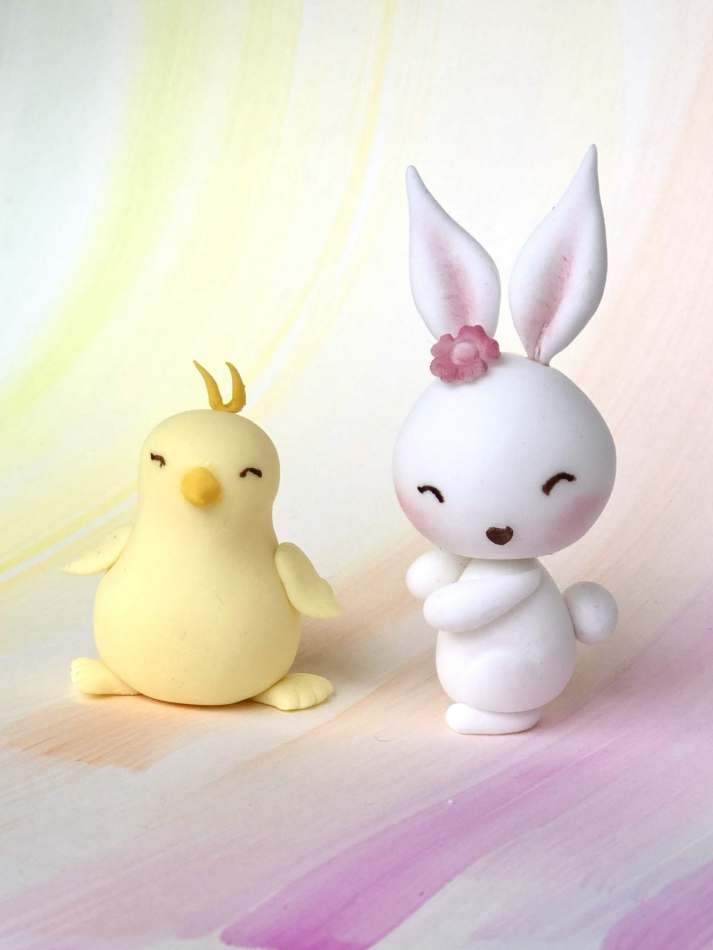
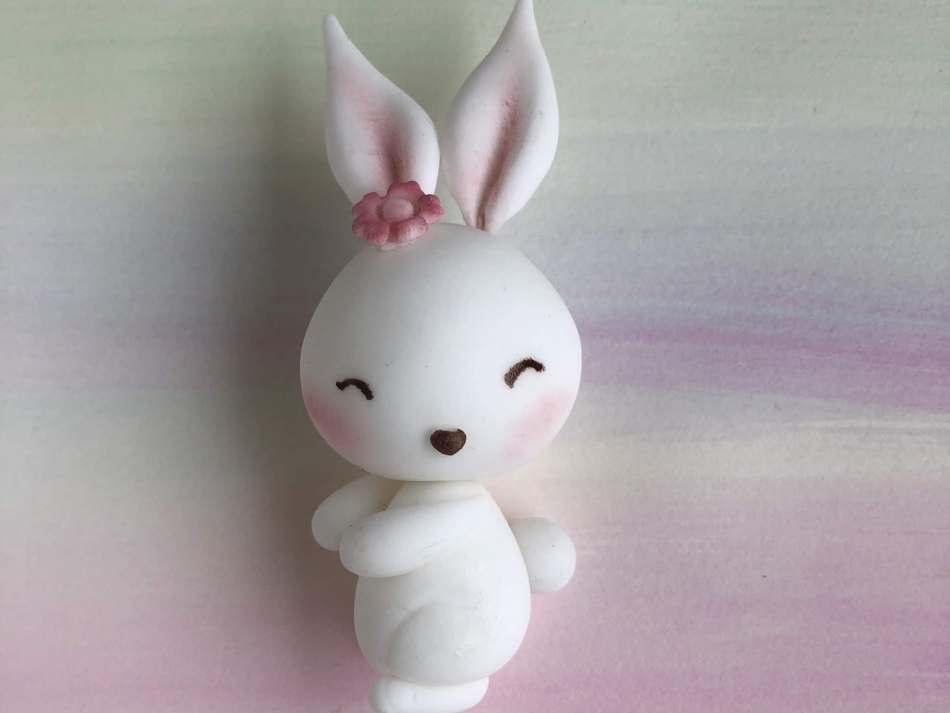
let's start with the baby bunny...
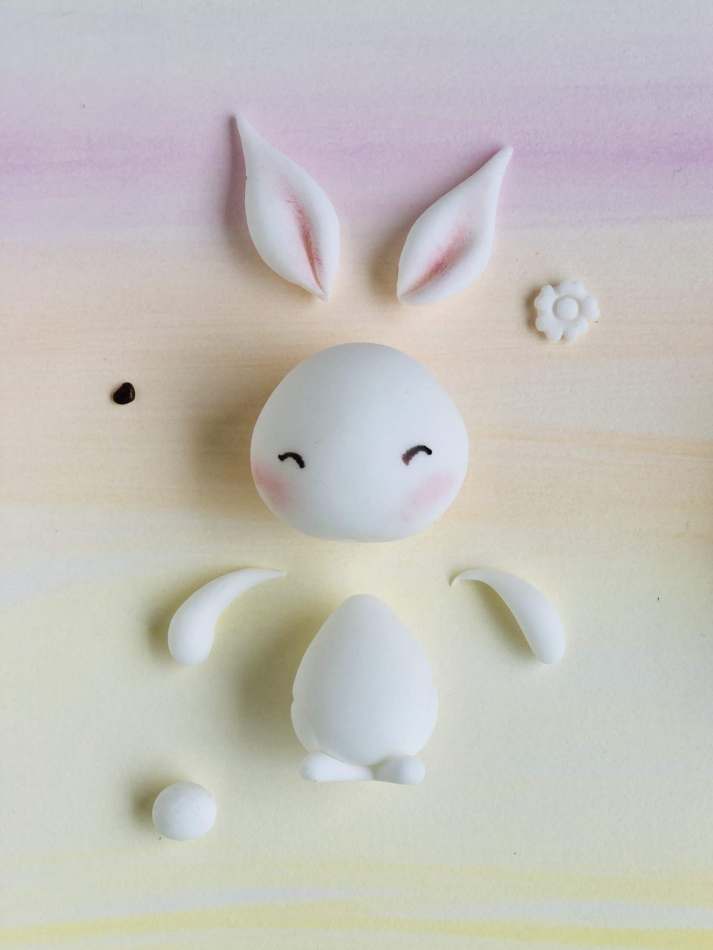
1. Start with the head shape and body shape - follow the deconstructed bunny pic above!
2. Use the teaspoon handle to make indentations on each side of the body to form the haunches of the bunny
3. Make the arms, feet and ears. the indent the ears, press the side of you pinky finger along the length of each ear, then pinch each ear at the base
4. For the nose, make a tiny ball, flatten it and add a teeny indentation at the top to form a heart shape.
5. To make the flower, make a another small ball and flatten it between your fingers. Use the edge of the teaspoon handle to make 5 indentations evenly spaces around the edge of the circle to form the petals. Press the trusty lego person's head into the middle of the flower to form the centre.
6. Snap the cocktail stick in half. Use one half to poke a hole in the base of the bunny, then remove it- this allows you to use the stick to secure the bunny into your cake or cupcake later to stop it toppling over.
7. To stick all the parts together, use a little water before pressing together. Start by using the other half of the cocktail stick to spike down into the body and up into the head to secure them together. You can use small sections of cocktail sticks to attach the ears to the head and tail to the bum.
8. Finally use a thin paintbrush to paint the eyes and nose with the dark food colour and use a tiny bit of dust to blush up the cheeks and ears.
Done!
Here are my top tips for successful modelling...
Always have well-washed and completely dry hands to avoid stickiness, but a very thin layer of icing sugar or cornflour on your hands can help if stickiness is still a problem.
Almost all modelled shapes start with rolling a ball: keep rolling until completely smooth, then progress to a sausage shape if needed - eg for the ears, arms and feet. For the pointy tips of the ears, you can use the sides of your hands in a rolling motion to bring one end of the sausage shapes to a point.
Try not to get frustrated if it doesn't turn out how you pictured the first time, try again - you'll be much faster the second time and you will have learnt a lot with each thing that went wrong!
As you get into the rhythm of things, you'll find your own fun ways of adding character and personalisation - have fun!
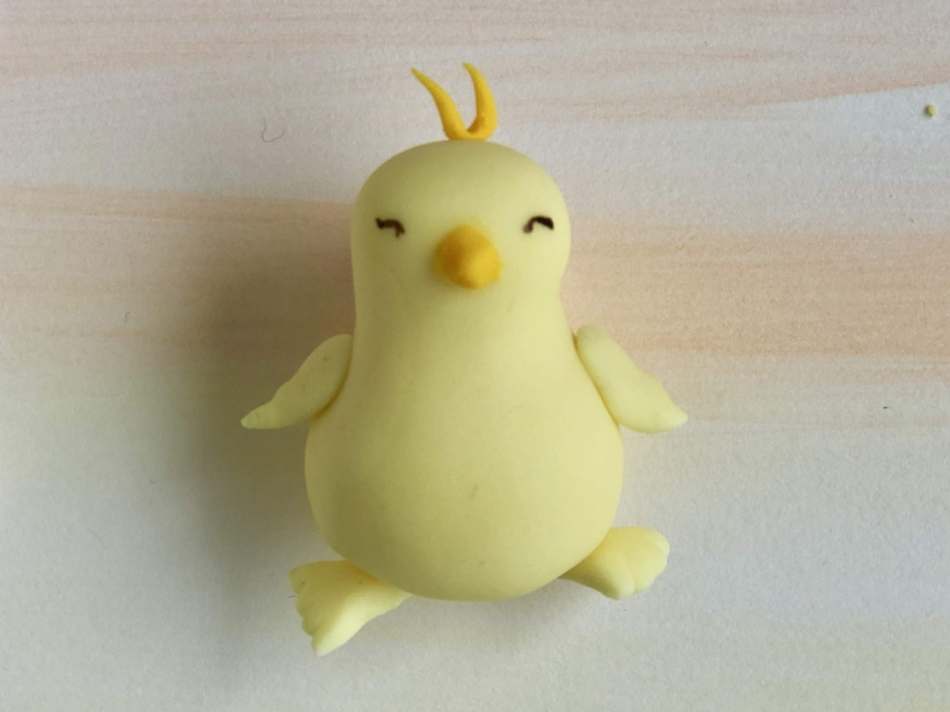
And now for the chick...
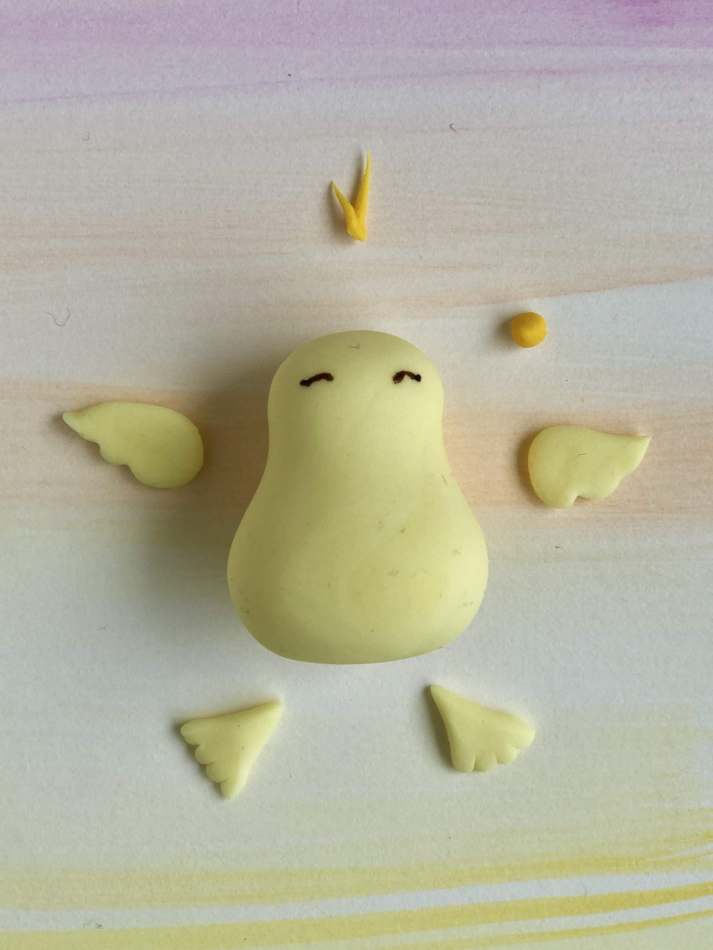
1. Start by rolling a ping-pong ball size bit of pale yellow modelling material into a smooth ball. Lengthen it slightly - just enough to start thinning the head end: do this by placing one hand either side of the ball, palms up and use the side edges of your hands in a very gentle rolling motion to create the neck and head.
2. Next make the beak with the darker yellow colour- the smaller the cuter, by making a tiny cone shape and securing to the face with a touch a water.
3. Roll a tiny, thin sausage and thin the ends to pints before folding it in two and attaching it to the top of the head.
4. For the wings, flatten a small amount between your finger and thumb, shape into a comma or teardrop shape, then use the knife to create two indentations for feathers.
5. Make two triangles for the feet and add toes with the blade of the knife.
6. Use a brush stoke of water the gentle attach the wings and feet, set on a plate and smooth any finger marks from the chics body to finish.
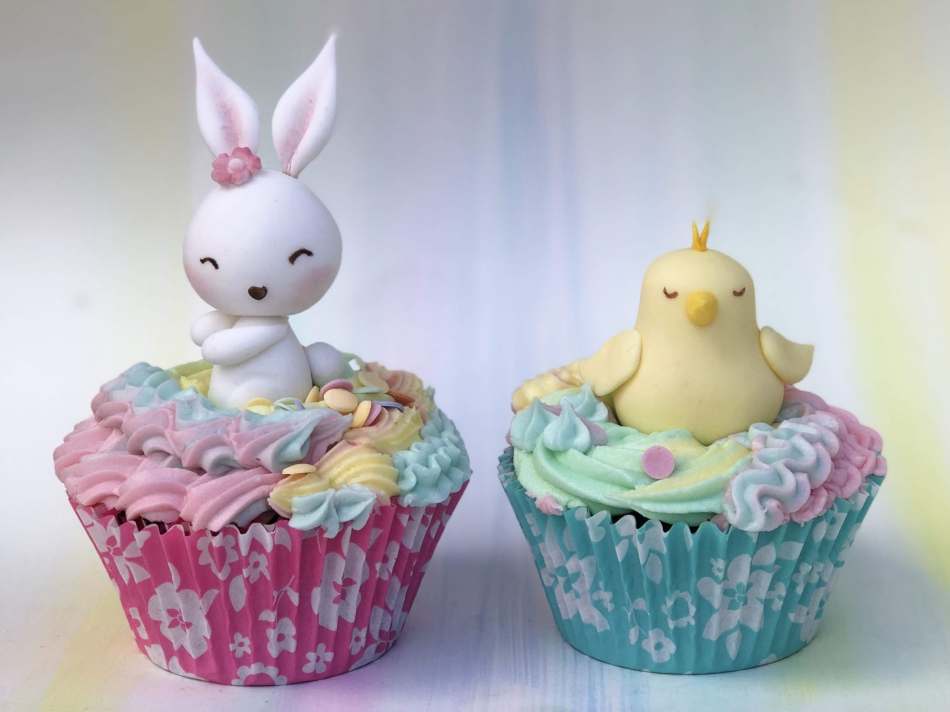
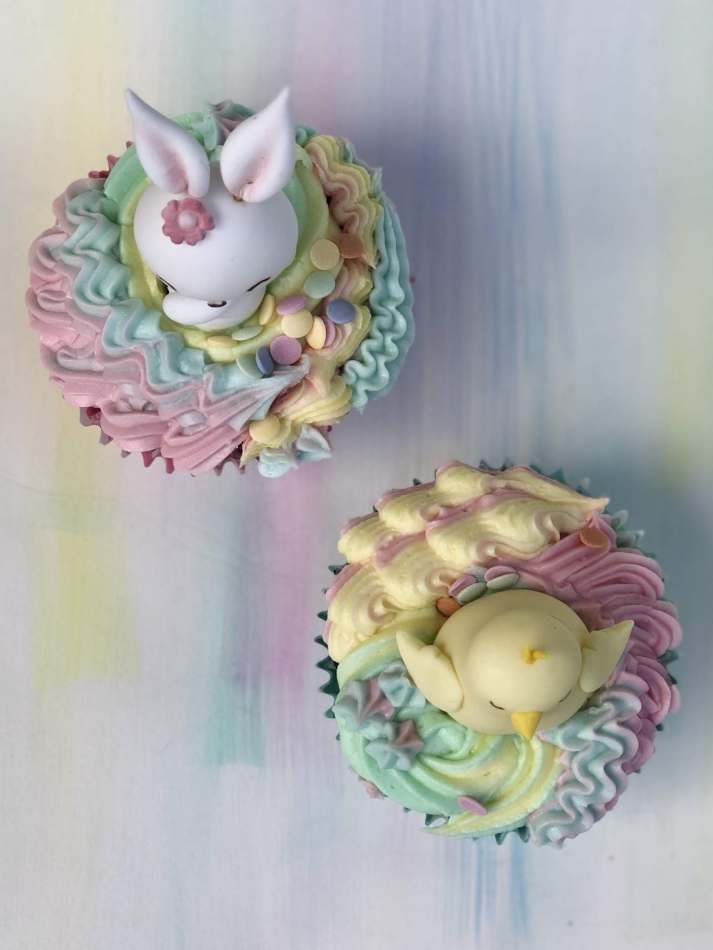
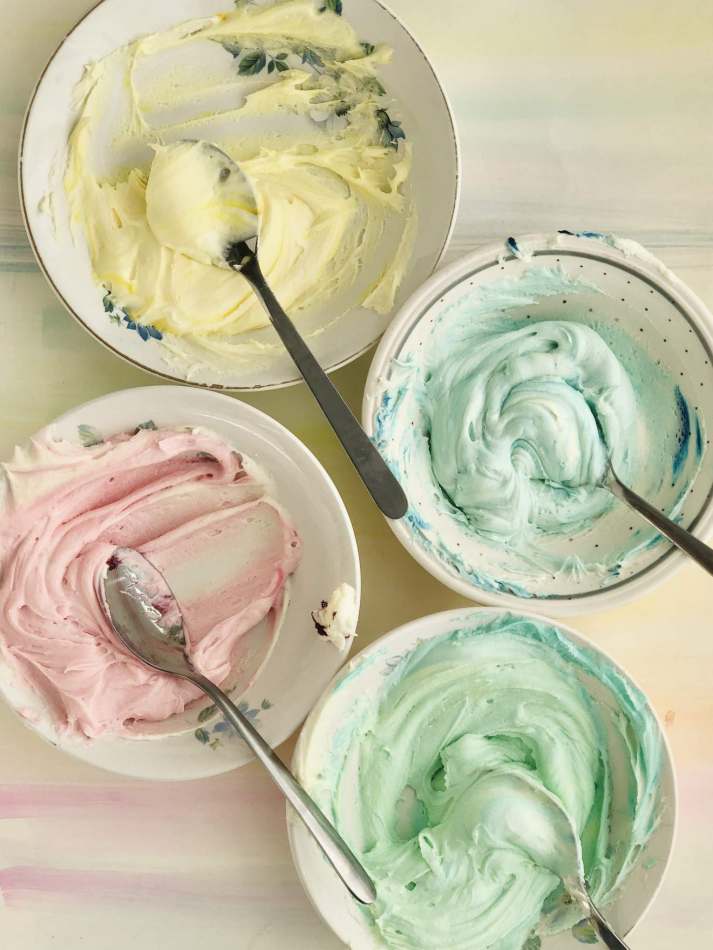
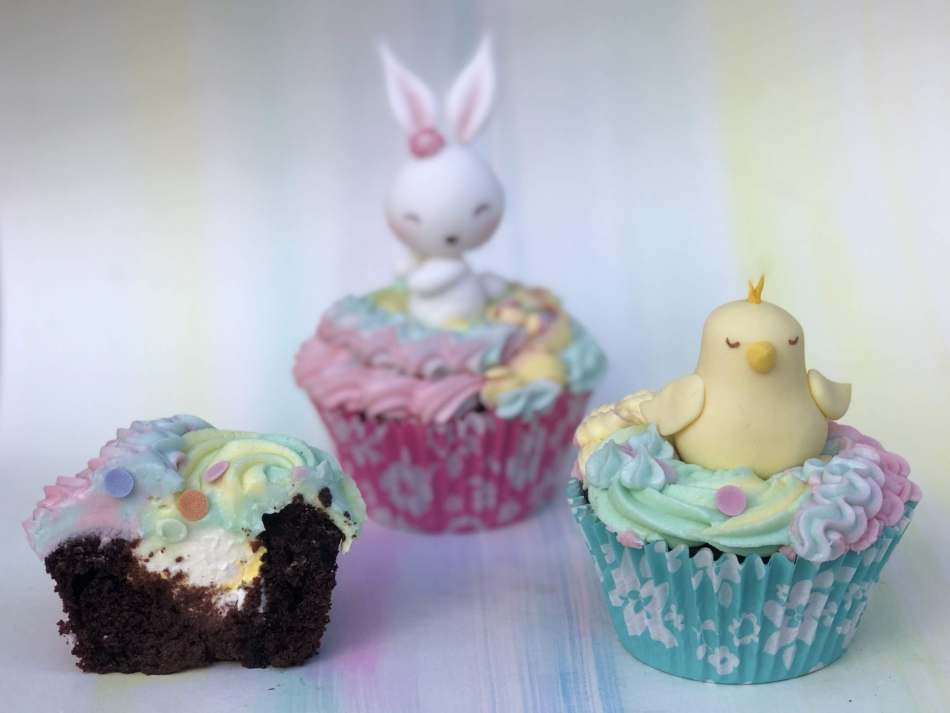
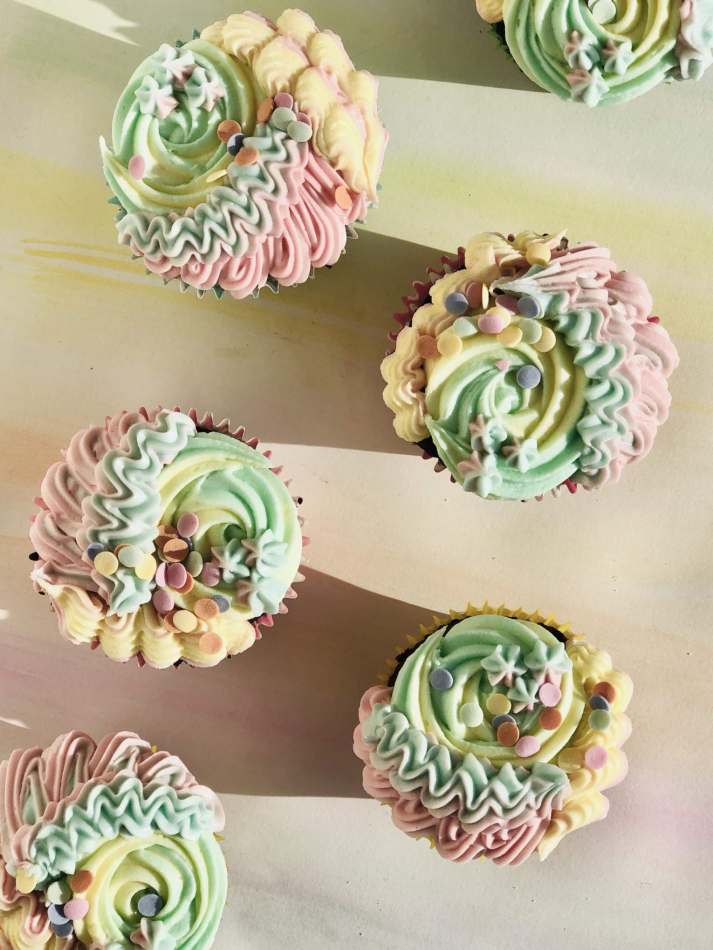
There we are! Two cute toppers for your Easter cake or cupcakes. I designed them to adorn some yummy chocolate creme egg cupcakes with rainbow pastel icing, so if you'd like to have a go at these Easter bakes, head to our blog page for the full recipe!
We'd love to see your creations! Please post on intagram or facebook with the hashtag liggyscakes!
A big Happy Easter from Claire and the Cake Team! x